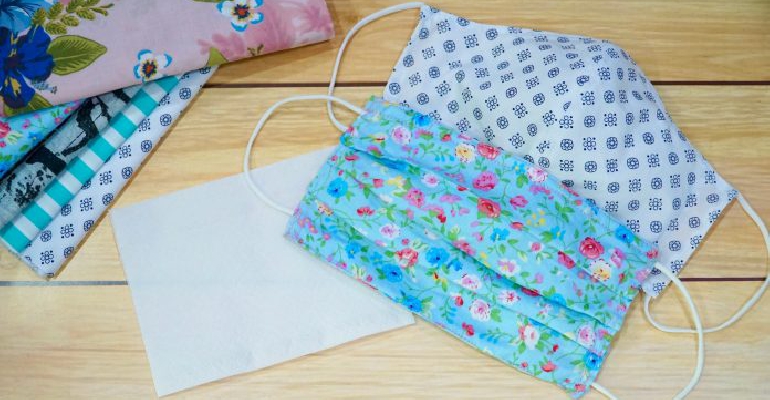
With the latest updates requesting all customers wear face coverings when entering shops and using transport services, we’ve decided to teach you how to make your own at home.
You’ll need a piece of fabric, scissors, some elastic or hairbands, needle, cotton and a plate with the following measurements:
For adults, roughly 10-11 inches.
For a child, around 8 inches.
- Lay the plate facing down on your fabric and draw around the edge.
- Cut out circle and then cut circle in half.
- Place the two halves together (pattern facing inwards) and then sew along the curved edge, leaving two inches unsewn on one of the sides (at least one inch in from the corner).
- Now this is the tricky bit. Open it up and refold in half, so the seam is now in the middle of your mask (the pattern should still be facing inwards).
- Now sew along the open edge.
- Put your fingers through the hole which you’ve left unsewn, pull the fabric through the hole to turn it inside out.
- Iron your mask, making sure it keeps its curved shape.
- Fold the pointed edges back on themselves (on the inside) by about one inch, and iron in place. Now use either hairbands, elastic bands or a piece of elastic tyed together at the ends (you’ll need to test it on your own ears to know how long to cut it) and place one side under one of the flaps you’ve created and sew in place. Now repeat with a second piece of elastic or hairband on the other flap, sew in place.
There you have a home made covering. For extra safety, you could place a piece of kitchen roll on the inside and sew a second layer of fabric to cover it.
 December Book Reviews
 If You Ask Me: Flo’s Virtual Bookshop
 Kids Zone: Christmas Traditions
 Book Reviews: November Novels... and more!
 What to Watch in October 2024
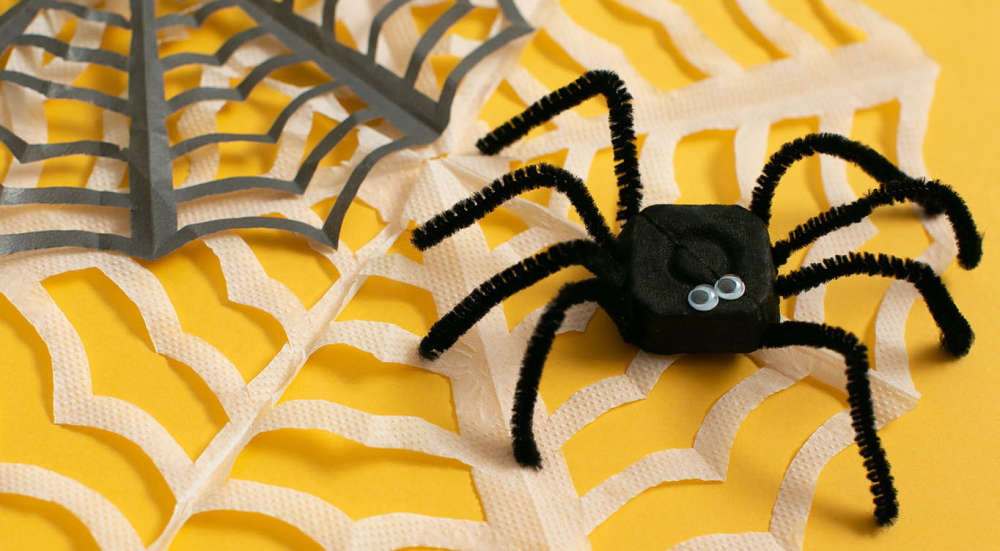 Kids Zone: Spooky Spider's Webs
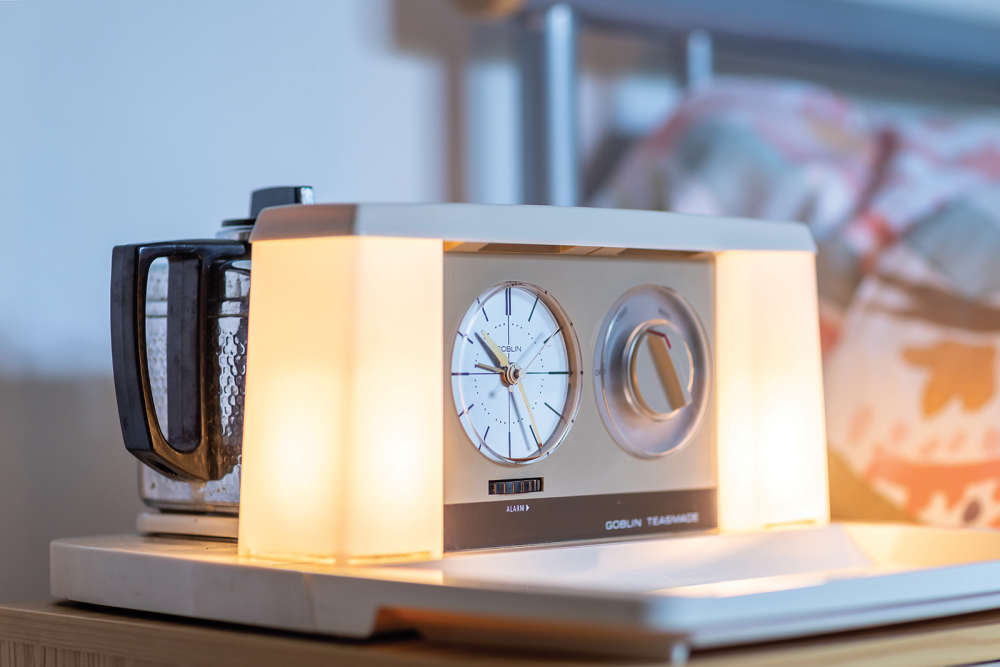 If You Ask Me: Humanity's Greatest Invention
 If You Ask Me: A Desert Island Drag
 Kids Zone: Mud Kitchens
 What to Watch in July 2024
 Kids Zone: Ice Block Treasure Hunt!
 What to Watch in June 2024
 A Gourmet Escape on the Eurostar: London to Amsterdam with Culinary Delights in Almere
 If You Ask Me: Train Announcements Have Gone Off the Rails
 If You Ask Me... Never Argue with an Idiot
 Kids Zone: Mosaic Art
 What to Watch in April 2024
 If You Ask Me: The Jobsworth and the Frog
 What to Watch in March 2024
 If You Ask Me... Politicians need a Translator